
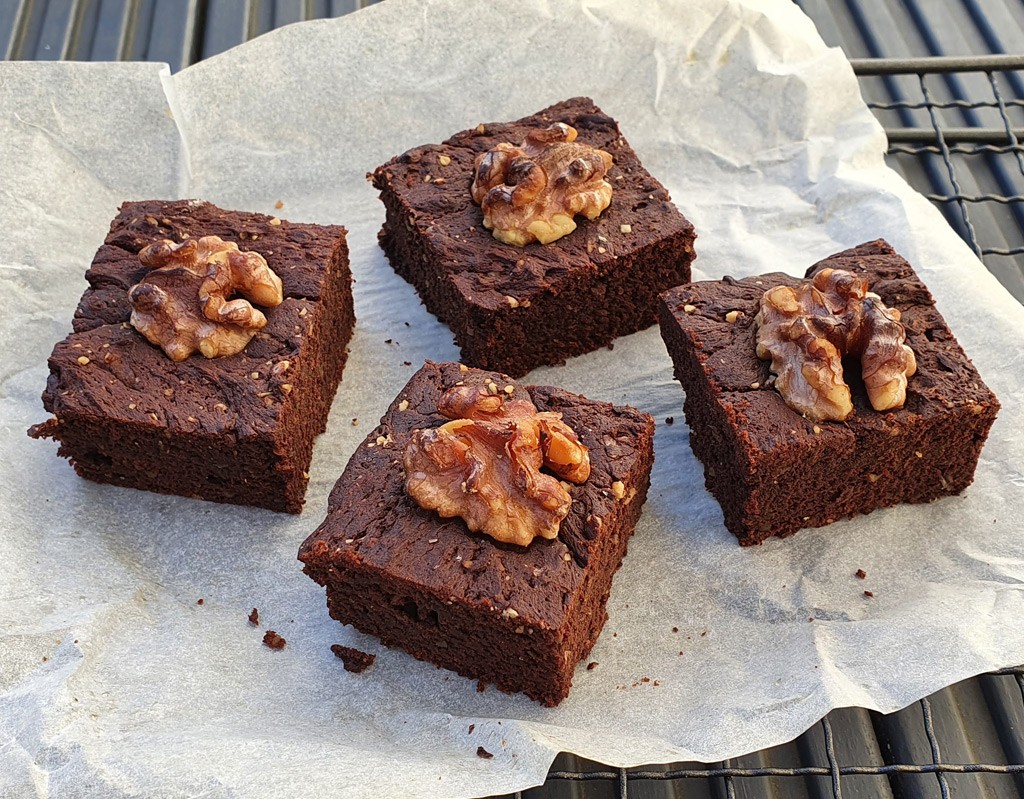
Gluten-free coffee and walnut brownies
These gluten-free coffee and walnut brownies are perfect for a mid-morning snack! They are rich and moist, so quite filling! I made them with dairy-free spread but normal butter can be used too. Store them in a cool place in an airtight container.
Ingredients
Method
- Pre-heat the oven to 180°C.
- Grease and line a square (about 20 cm) baking tin with baking paper.
- Lightly dry-toast the walnuts and set aside to cool.
- Put the chocolate bits in a heat-proof glass bowl, then set it over a saucepan of lightly simmering water. Don’t let the base touch the water. When the chocolate has melted, add the spread or butter and stir together until smooth. Remove from the cooker, let it cool for 5 minutes, then add the espresso and vanilla.
- Meanwhile, put the toasted walnuts in a small blender and grind them into coarse textured crumbs.
- In a large bowl, beat the eggs and sugar together until fluffy. Fold in the chocolate mixture and beat until combined.
- Sift in the flour and combine. Finally fold in the ground walnuts.
- Transfer the mixture to the baking tin, spreading it out evenly.
- Bake for 20 to 25 minutes. After about 10-15 minutes, arrange the walnut halves on top of the cake, pushing them into the batter.
- After 20 minutes, test with a toothpick – the centre should remain a bit gooey. If it’s too soft, cook for another 5-8 minutes or so and cover the top with foil.
- When the cake is cooked, remove the tin from the oven and leave it to cool in the tin for 15 minutes, then move to a wire-rack. Let it cool completely, then refrigerate before slicing it (it won’t crumble then).