
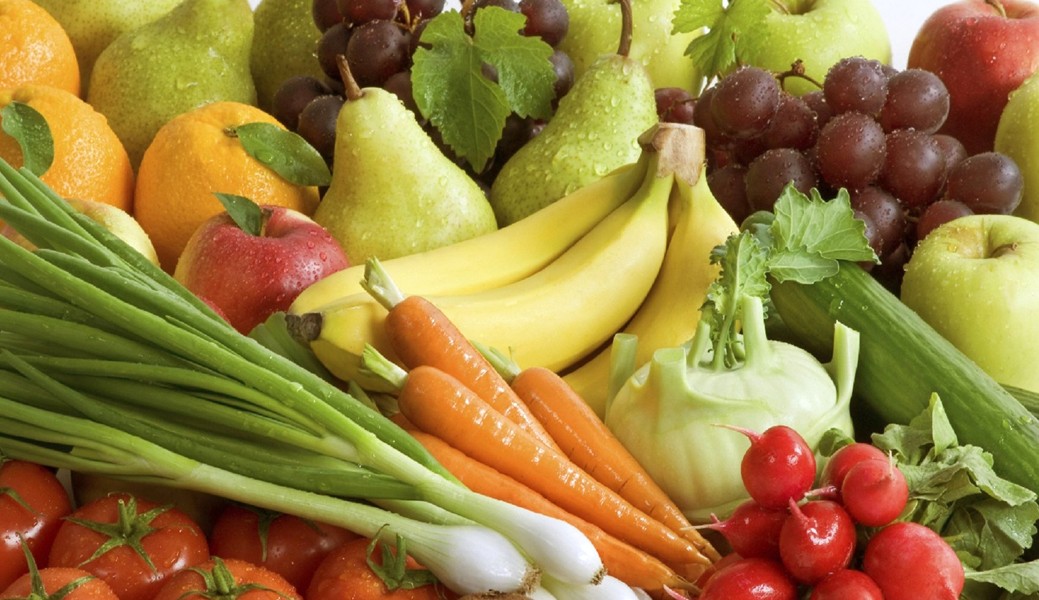
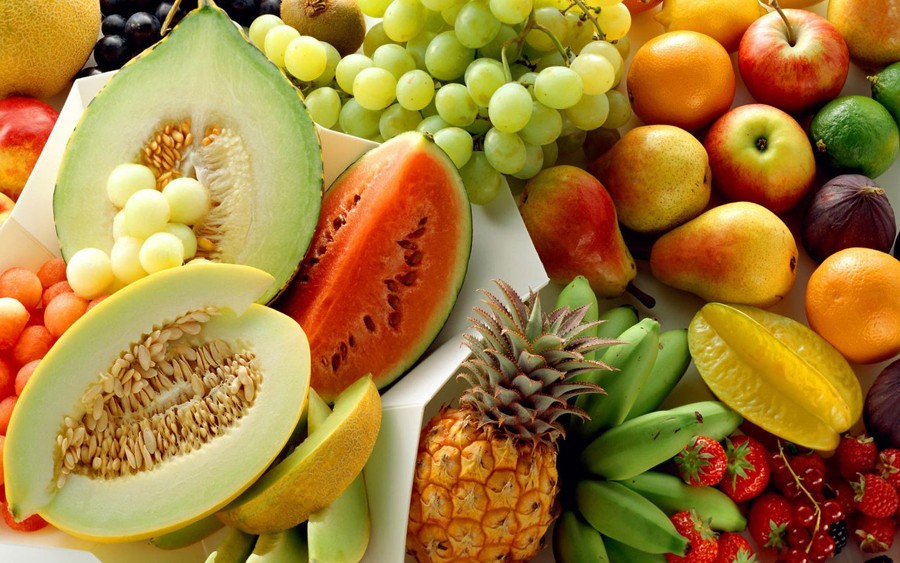
Melon recipes are synonymous with summer. Sweet, juicy and wonderfully fragrant, melons are enjoyed around the world in everything from refreshing fruit salads and smoothies to elegant starters, chilled soups and frozen desserts. While watermelon is often the first melon people think of, varieties such as cantaloupe, honeydew and Galia have a richer aroma and sweeter flavour that make them especially versatile in the kitchen.
Melons are particularly popular across the Mediterranean, where they feature in both sweet and savoury dishes. Italy is famous for Prosciutto e Melone, Spain serves chilled melon soups and tapas, while in France, Greece, and the Middle East they’re often paired with cured meats, cheeses and fresh herbs. In Japan, premium melons such as Yubari King are considered luxury fruits and are prized for their exceptional sweetness.
The Plant
- The melon (Cucumis melo) belongs to the cucumber family (Cucurbitaceae), along with cucumbers, pumpkins, squash and courgettes. Although we think of melons as fruit, botanically they’re a type of berry known as a pepo.
- Interestingly, melons and watermelons aren’t closely related, despite sharing the name “melon.” In fact, muskmelons such as cantaloupe and honeydew are more closely related to cucumbers than they are to watermelons.
- Melons are believed to have originated in parts of Africa and Asia and have been cultivated for thousands of years. Today they’re grown throughout warm regions of the world, with Spain, Italy, Turkey, Egypt, Morocco, China and the United States among the largest producers.
- Melons grow on sprawling annual vines that thrive in long, sunny summers and well-drained soil.
- Their unmistakable fragrance comes from hundreds of naturally occurring aromatic compounds, which become more concentrated as the fruit ripens.
Popular Varieties
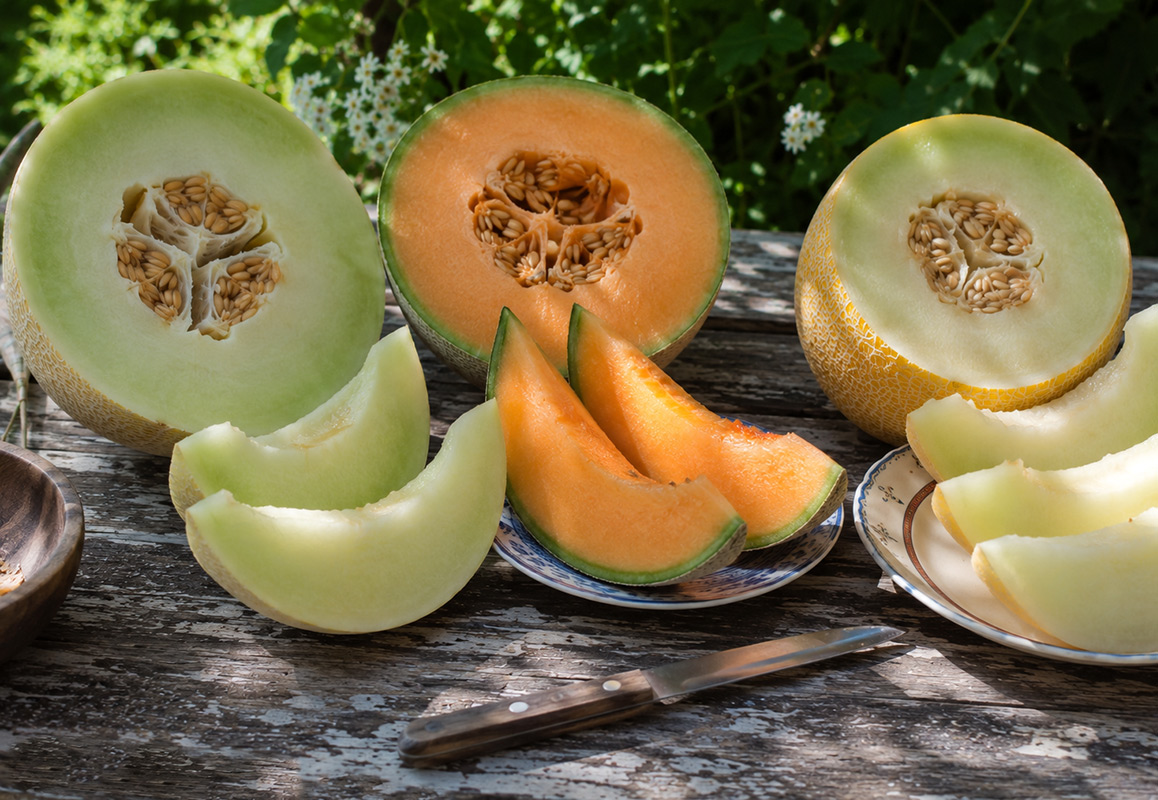
“Melon” actually refers to a large group of different varieties. The best-known types include Cantaloupe, recognised by its netted skin and deep orange flesh; Honeydew, with its smooth pale skin and sweet green flesh; and Galia, a hybrid variety with aromatic green flesh and a lightly netted rind. Other varieties include Canary melon, Charentais melon from France, and the highly prized Japanese Yubari King. Each variety has its own balance of sweetness, aroma and texture, making them suitable for different recipes.
Buying and Storing Melons
- Melons are at their best during the summer months, although imported fruit is available in supermarkets for much of the year.
- A ripe melon should have a sweet, fragrant aroma, especially around the stem end. It should feel heavy for its size and give slightly when gently pressed, without feeling soft or mushy.
- Whole melons can usually be kept at room temperature for several days. Once cut, they should be covered and refrigerated, then eaten within two or three days for the best flavour and texture.
- Melon can also be frozen, although it becomes much softer after thawing. Frozen melon is best used in smoothies, sorbets, granitas and frozen cocktails rather than eaten on its own.
Health Benefits
- Melon is naturally low in calories, containing approximately 30–35 calories/100 grams.
- Because it’s made up of around 90% water, it’s one of the most refreshing fruits to eat during hot weather and can help with hydration.
- Melons are a good source of vitamin C, while orange-fleshed varieties such as cantaloupe are particularly rich in beta-carotene, which the body converts into vitamin A to support healthy vision, skin and immune function.
- They also provide potassium, which contributes to normal muscle function and healthy blood pressure, along with small amounts of fibre to support healthy digestion.
How Melons Are Used in Cooking
- Melons are most often served fresh, either on their own or as part of fruit platters and summer fruit salads.
- They’re also popular in smoothies, milkshakes, fresh juices and refreshing cocktails. Frozen melon makes excellent sorbet, granita and homemade ice cream.
- In desserts, melon pairs beautifully with mint, basil, lime, lemon, berries and tropical fruits. Its natural sweetness means it often requires very little added sugar.
- One of the world’s most famous melon dishes is the Italian classic Prosciutto e Melone, where sweet cantaloupe is wrapped in thin slices of salty prosciutto. The contrast of sweet and savoury flavours has made it a favourite summer starter around the world.
- Melon also works beautifully in salads, especially with mozzarella, feta, goat cheese, arugula, cucumber, avocado and toasted nuts. A drizzle of olive oil and balsamic glaze transforms it into an elegant Mediterranean-style dish.
- In Spain and Italy, melon is also used in chilled soups and light appetisers, while in the Middle East it’s often served alongside salty cheeses and fresh herbs.
- Across many Asian countries, particularly Japan, South Korea and Thailand, melon is commonly enjoyed fresh as a premium dessert fruit or blended into refreshing drinks.
- Even the seeds are edible. When cleaned, dried and lightly roasted, they make a nutritious snack similar to pumpkin seeds and are eaten in several Middle Eastern and Asian cuisines.
Melons are much more than a refreshing summer snack. Their delicate sweetness, high water content and distinctive aroma make them one of the most versatile fruits for both sweet and savoury cooking.
Recipes with Melon>>


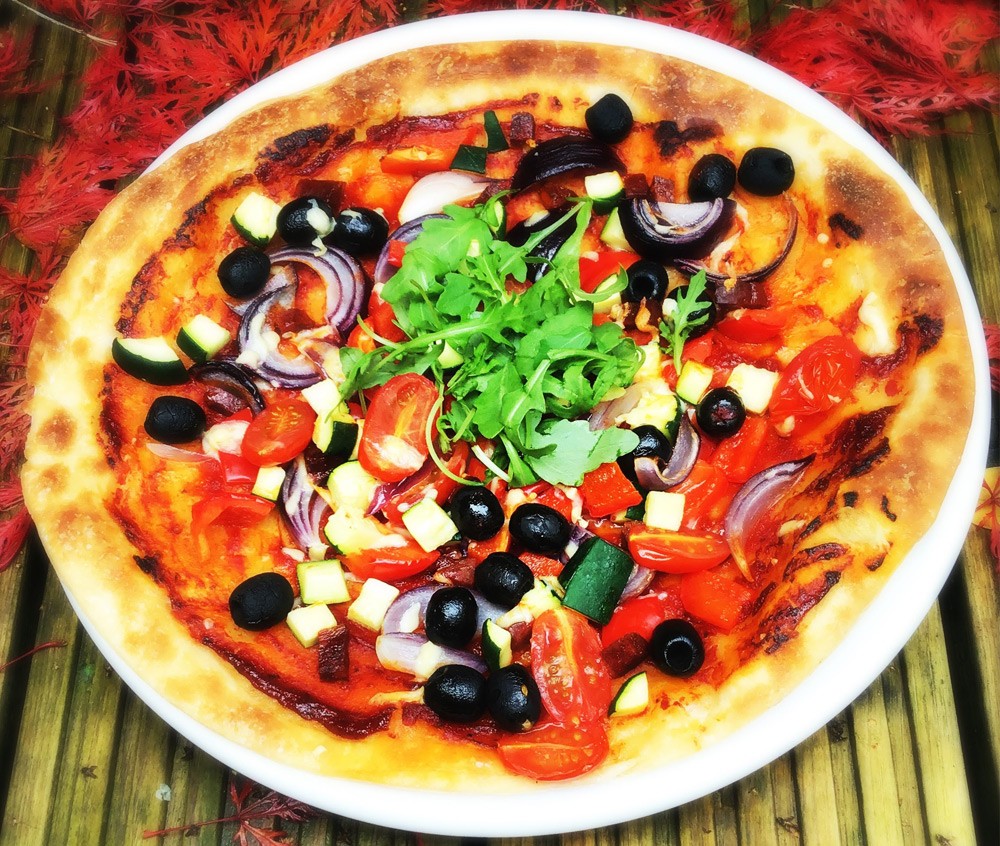


 I made these mini spiced pizzas for our Halloween party. I used my favourite


